Weekend DIY: Outdoor Bar
We’re revisiting a project from a recent Property Brothers: Forever Home renovation that will whet your appetite to wet your whistle.
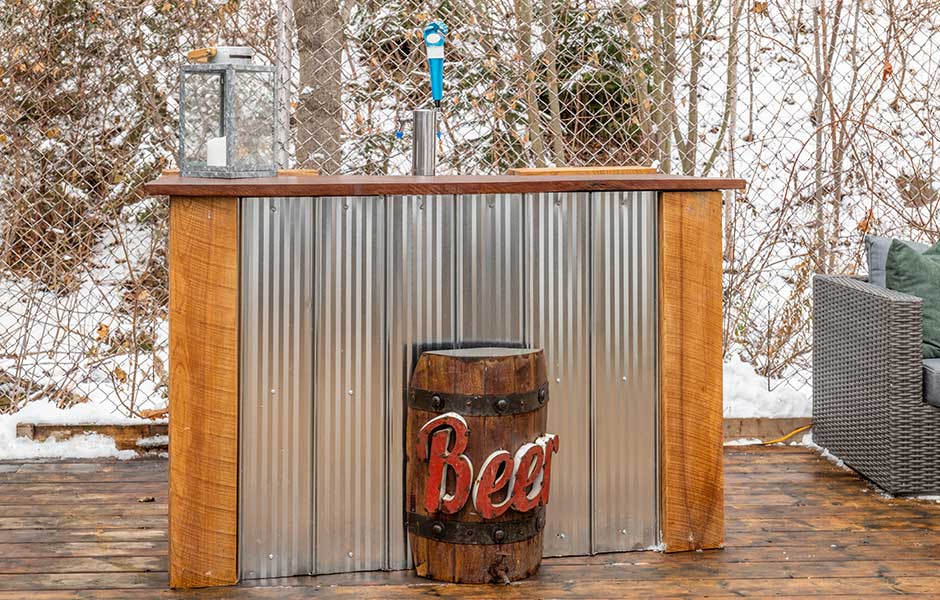
Our series of easy backyard projects continues this week with a refreshing project: an outdoor bar! There’s no shortage of ways you can put together this little backyard oasis, so this is a great project to make your own through unique materials and styling.
Step 1. Gather Your Materials
We’re going to leave the selection of a kegerator to you, and stick to the actual structure (plus, who knows? You might be more of a Merlot person. You do you.) If you’re a frequent DIYer, you probably have a lot of these materials on hand from other projects, but if not, focus on simple framing—a 42-inch height is pretty standard—and then decide your outer materials.
For the counter: If you really want to go the stone route (and we’re assuming you don’t have the ability to cut it yourself), you can usually go to a countertop manufacturer and get cheap, offcut pieces. They’re usually leftover pieces of a slab that are much smaller, but they could be the perfect size for a bar, and you can get them cheap. The installer might also cut them to your measurements, if you ask nicely.
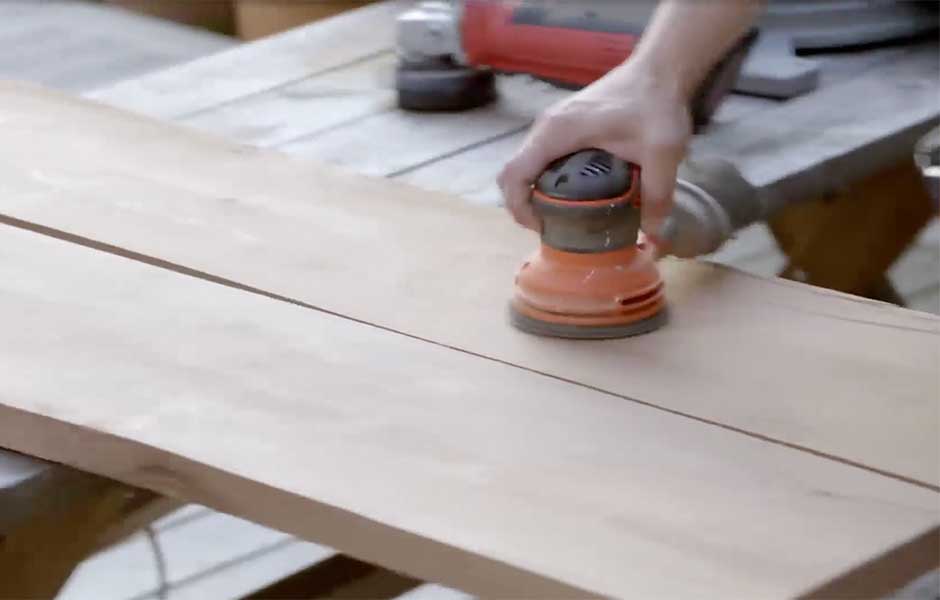
Otherwise, you can use pretty much any wood, as long as you seal it properly. Some woods stand up better to the elements, like cedar, but it might depend on what you have lying around. Whatever you choose, be sure to fully sand down your counters for a smooth surface.
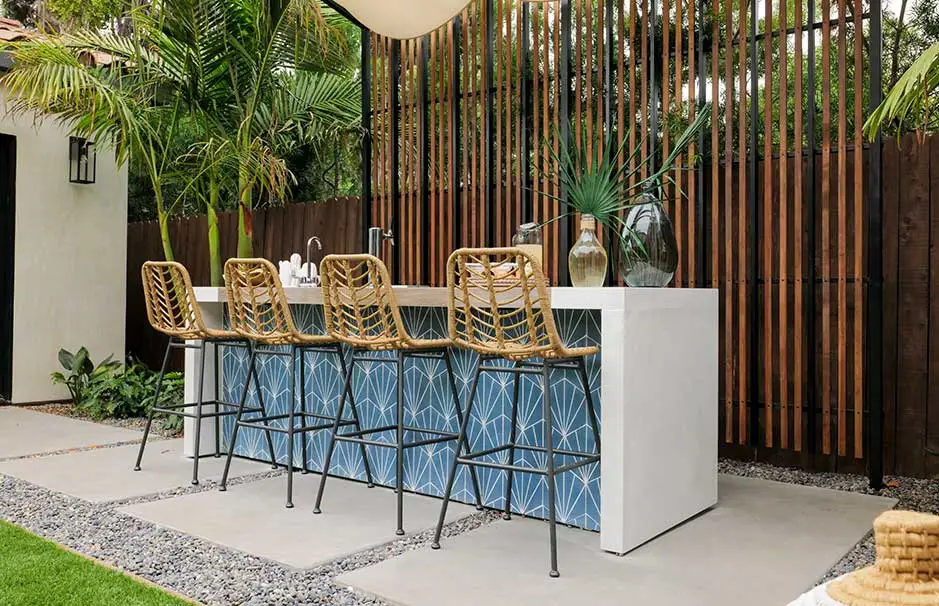
Step 2. Decide On Seating
Make sure you get the right height for your chairs—if you’re going with that 42-inch option mentioned above, look for chairs or stools around 30 inches tall. You generally want something that’s pretty easy for people to pull out and hop on, so you might want to check out seating options in person, if you can do so safely. And if you want stools to tuck away completely, they shouldn’t have any backs on them.
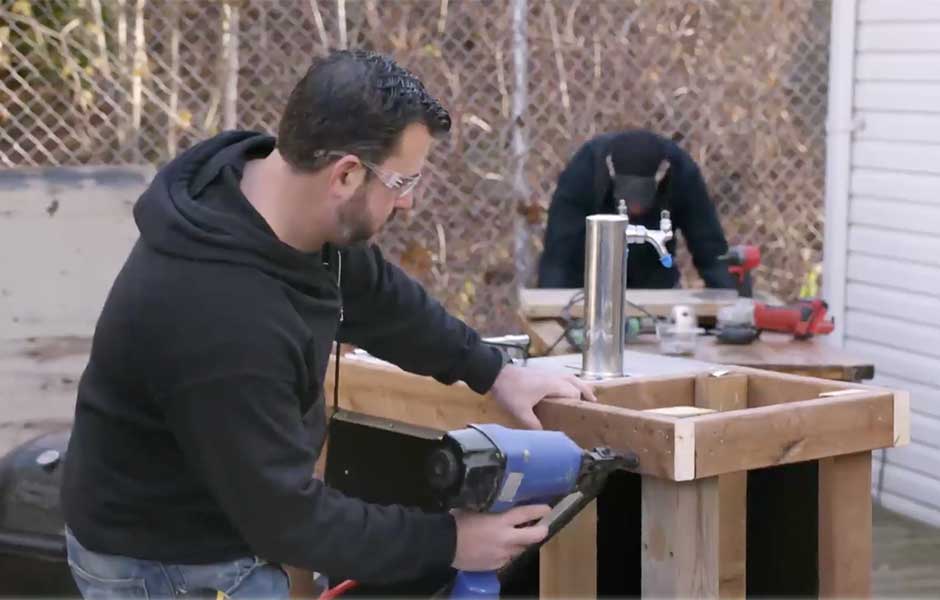
Step 3. Assemble Your Bar
Depending on your materials, assembly should be a pretty simple hammer/screw job. As with most projects we do, storage is always key. If you have the depth you need behind the bar, it’s nice to have some shelves and potentially even a space for a beverage center. It all depends on your design. You might want to have a raised bar for people to stand at and put their drinks, thereby providing the backsplash surface for a bartender, who has a lower working surface.
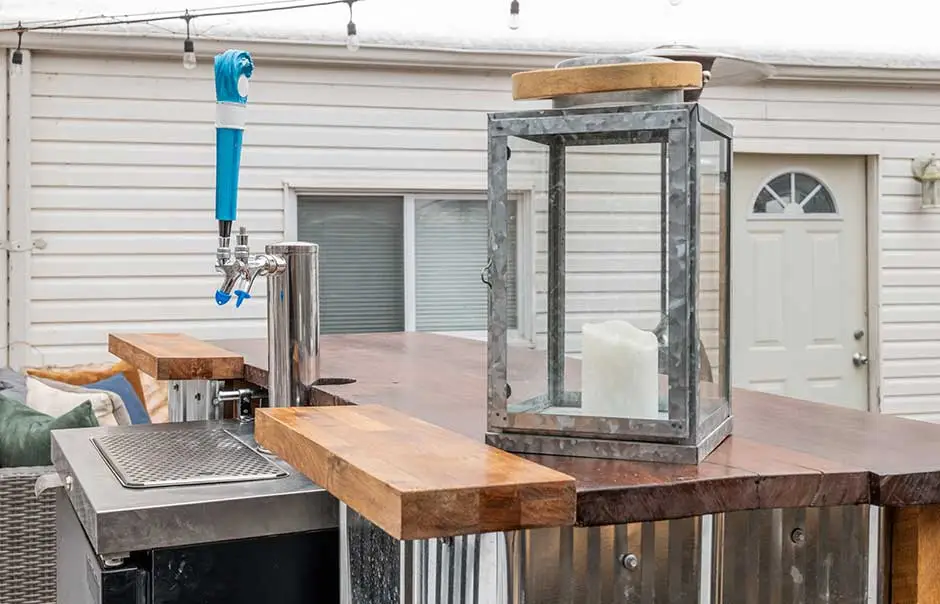
Step 4: Make It Yours and Seal It Up
The color of your stain and sealant is up to you, but first look around at any other wood in the space, and make sure you choose a color and a finish that is going to complement the other wood. You don’t want something that will clash. Same with the hardware: If you already have some of the equipment, like the beer tap, then look to get hardware that matches; for example, chrome or brass for your corbels or foot rail.
Knowing that people spill, the top surface should be something smooth and easy to wipe (remember that sanding tip from earlier?). You wouldn’t want to have something like a rough cedar surface on top. But if you’re feeling crafty, you could take a flat surface (surrounded by a raised border) and cover it with collectibles, like stamps, stickers, postcards, bottle caps, etc. Pour resin over the whole thing, and you have a waterproof surface with a unique feature that tells a story about you.
Happy DIYing!