Masterclass: How to Add Pegboard Storage
Julia Child had the right idea: Cooking’s a breeze when you keep your most-used kitchen gadgets and tools close at hand. This humble and hardworking material will help you maximize efficiency in your space.
1. Pegboard Planning
Map it out
Every kitchen (and cook) is different. Take a careful look at your layout and think about where a pegboard makes sense for your space and how you use it. Maybe you have a narrow sliver of wall that could be turned into a hardworking storage spot? Or a large blank wall that could become a functional feature? You can even mount a pegboard on a refrigerator enclosure, above a sink, or as a backsplash to keep your items near your prep space.
Take stock
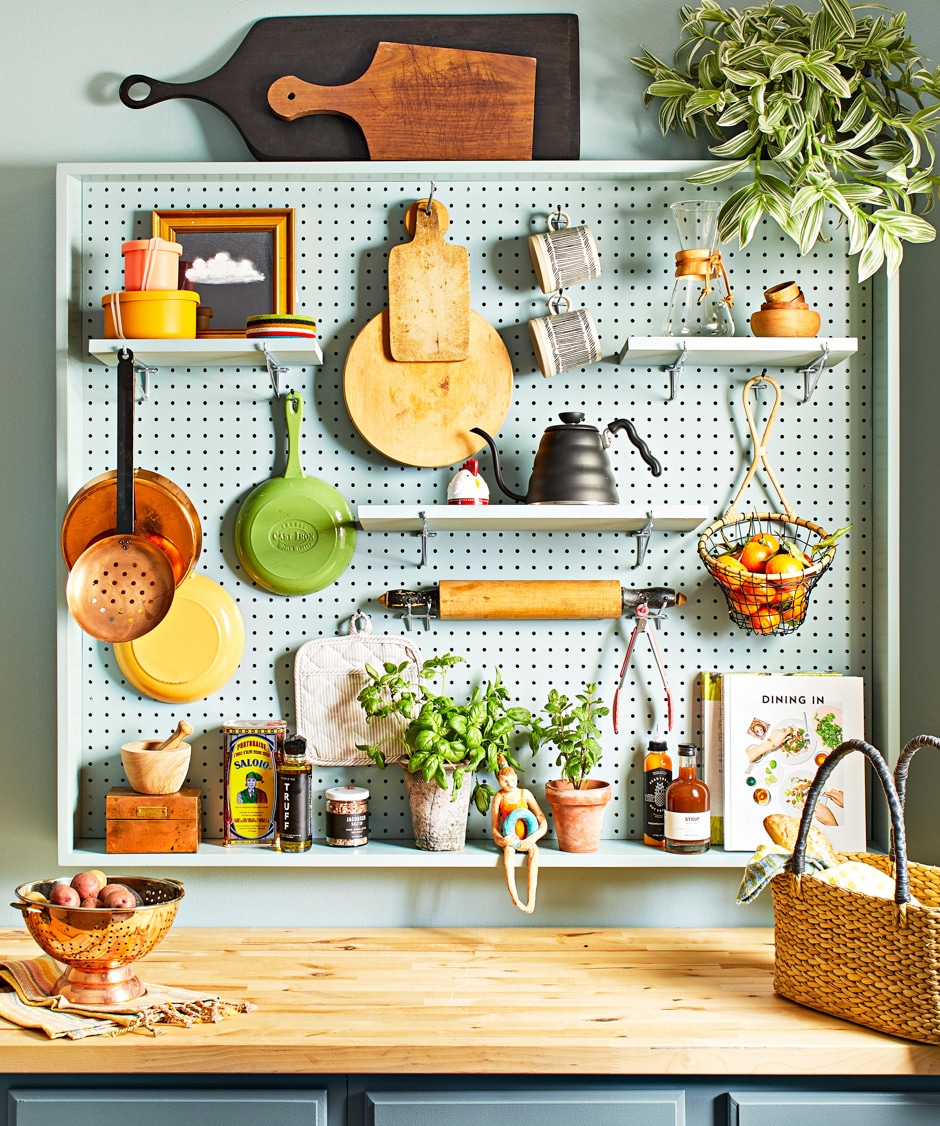
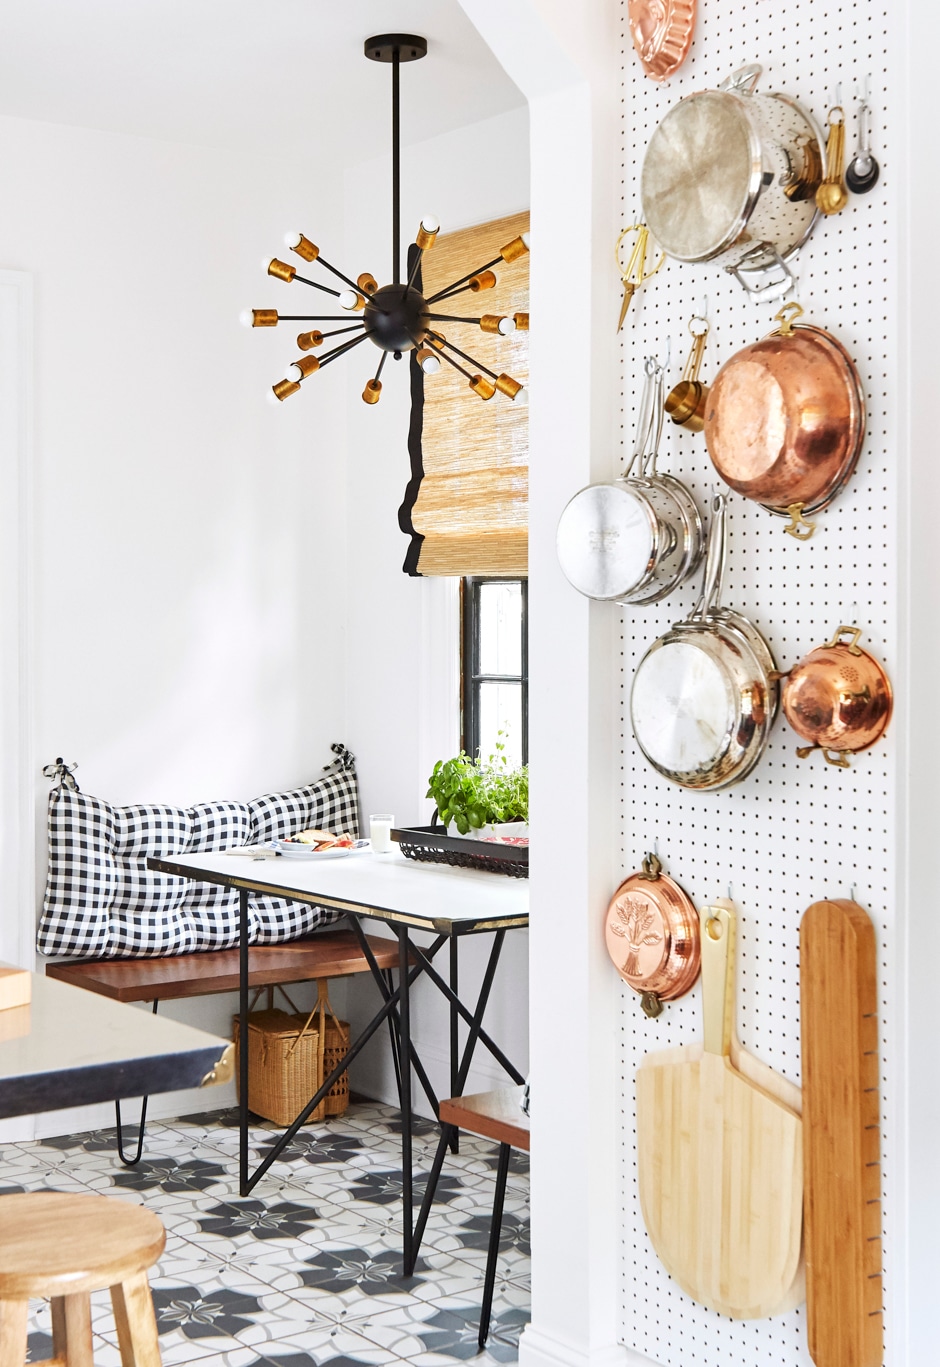
At this stage, consider what you plan to hang in relation to your work centers. A pegboard can free up space in cabinets and drawers, but poor placement can sacrifice efficiency. For example, your copper pots and pans are beautiful on display, but they aren’t much help on the opposite side of the kitchen from the stove. Measuring cups, cutting boards, and utensils are most handy near your counter prep space, and mugs are useful near your coffee maker or tea kettle.
Consider safety
The National Kitchen and Bath Association (NKBA) recommends the width of a walkway be at least 36 inches. As you plan placement, make sure the items you will hang from a pegboard are not impeding walkways. The NKBA also recommends storing frequently used items 15 to 48 inches above the floor for accessibility. However, if you have little ones at home, you know you wouldn’t want to hang anything sharp, heavy, or breakable within reach. Avoid hanging a pegboard directly above a range—hanging items there could create a fire hazard or an unsafe reach across a hot stovetop.
Pick a material
Standard pegboard panels made from hardboard are available at home-improvement stores in common sizes, such as 24×48, 48×48, 48×72, and 48×96 inches, and thicknesses, such as 3/16 inch or 1/4 inch. They’re usually available in white or a brown wood tone. You can also find panels in stronger materials, such as tempered wood, which cost more but can hold weightier items like heavy pans. Some come in kits that include steel hanging hardware or wall spacers, or you can mount the panels in studs and stabilize the top and bottom using 1×2-inch furring strips.
“Getting organized doesn’t have to be a stretch. With a properly spaced pegboard, everything will be in sight and within arm’s reach!”
—Drew
2. Hanging Basics
Once you’ve landed on a spot, use a tape measure to determine the desired height and width.
Cut
If you need to trim your pegboard, use a level to mark a straight line on the panel with a pencil. Then cut using a circular saw. No saw? If you plan ahead, your home improvement store can cut the panel to your desired dimensions.
Find studs
Use a stud finder to locate the studs. Lightly mark them with a pencil.
Stabilize
For easy hanging, use 21/2-inch wood screws to anchor horizontal 1×2-inch furring strips to the studs where you’d like the top and bottom edges of your pegboard to rest. If your panel is larger or you plan to hang heavy items, secure vertical braces to the studs as needed for stabilization and support. The furring strips will also act as spacers to accommodate pegboard hardware.
TIP
Paint the furring strips the same color as the wall or your pegboards so they blend.
Prep
If you want to switch up the color of your pegboard panel, now is the time to prime and paint. First, apply a bonding primer. Once it’s dry, lightly sand with high-grit sandpaper and wipe away dust. Follow it up with paint, allowing drying time between coats. After the paint is fully dry, add a clear sealant to protect the material from moisture. We like using spray versions applied in light, even coats to get into all the crevices while avoiding drips.
Hang
When the board is dry, recruit a partner to help you hang it. First, make sure it’s level. Then secure the pegboard to the furring strips using 2 1/2-inch wood screws and washers at each corner and through the vertical braces about every 12 inches.
Organize
Trick out your pegboard with peg hooks and accessories.
3. Have Fun With It
Check out these twists on the traditional pegboard to spice things up:
Explore materials
You can find all sorts of heavy-duty metal and acrylic pegboards in fun colors online. Check out websites like wallcontrol.com or azardisplays.com for options.
Supersize it
Pegboards with oversize holes made from plywood and dowels offer a modern take. Find a great selection on etsy.com, or DIY your own. Julia Child traced the outlines of her kitchen tools to ensure they always made it back to their correct spots. Follow her lead using a paint pen.
Crack the code
Consider color-coding sections of the panel or the peg hooks themselves to help you group like with like—for example, mugs, cooking utensils, baking supplies, etc.
Cut it out
The traditional rectangle shape can feel a little square. Use a jigsaw to cut your pegboard panel into an interesting shape, such as an arch or oval, to add architectural interest.
You’ll Need
- pencil
- tape measure
- pegboard panel
- circular saw
- stud finder
- level
- 1×2-inch furring strips
- 2 1/2-inch wood screws
- drill and drill bits
- spray primer
- spray paint
- spray sealer
- assorted peg hooks
By Drew & Jonathan | Feature photograph by Kelsey Hansen | Second photograph by Adam Albright
This article originally appeared in the Holiday 2022 issue of Drew + Jonathan Reveal, Drew & Jonathan’s home and lifestyle magazine.