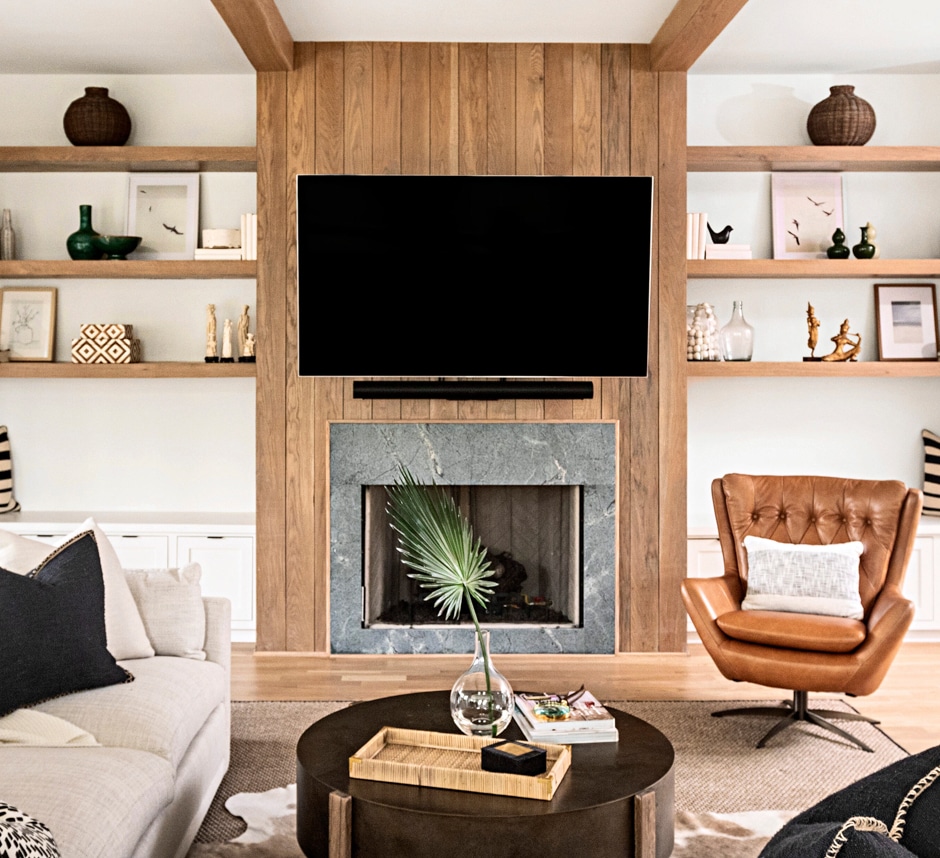
Master Class: Planked Feature Wall
When drywall isn’t cutting it for you, cover it up! This technique adds loads of character and style, whether your vibe is modern, industrial, farmhouse, or something we haven’t thought of yet.
1. Pick a Plank
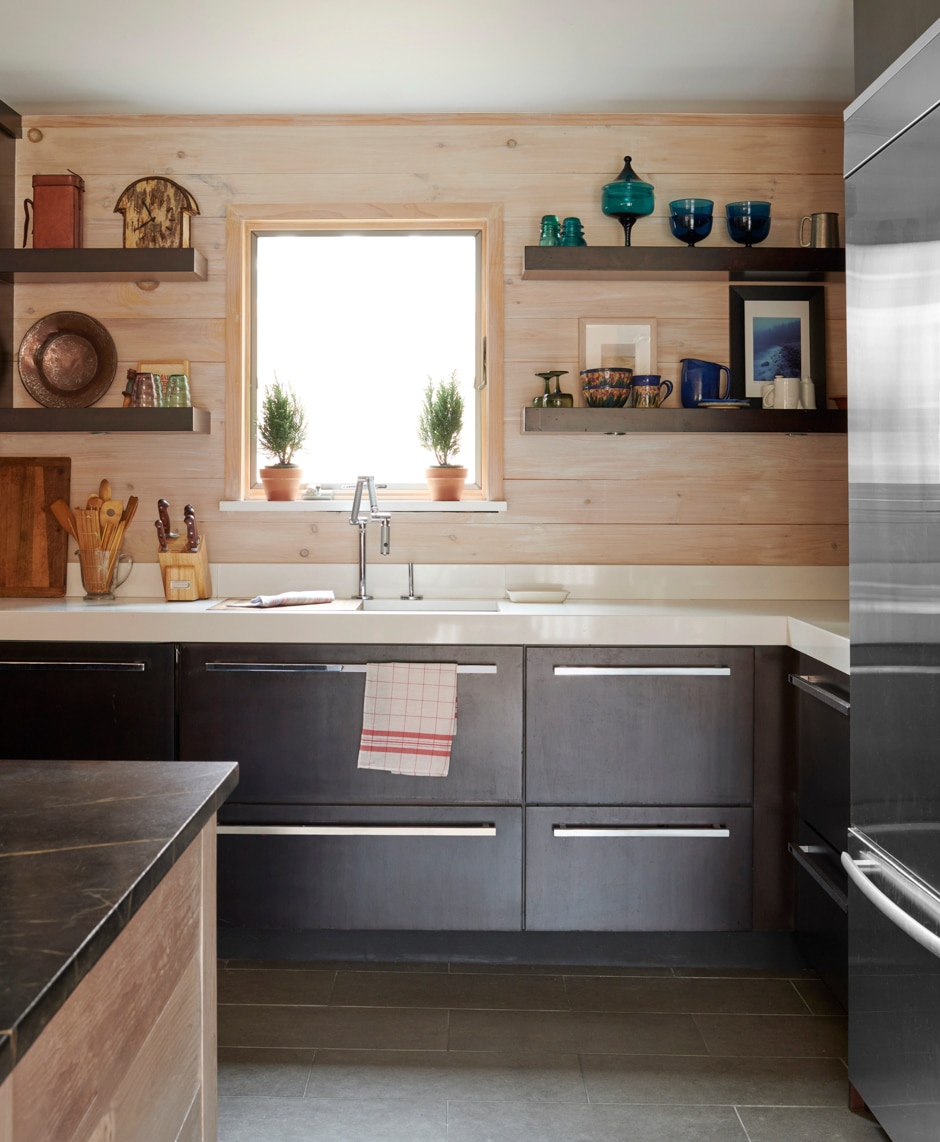
Wood planks
In natural, stained, or primed finishes, these add warmth and character to empty walls.
Medium-density fiber board (MDF)
Super-smooth planks are usually prepainted or primed and ready for paint.
Peel-and-stick
Perfect for new DIYers, they’re thin, lightweight, and easy to handle.
PVC or vinyl
These manufactured planks are great for baths, basements, or areas where humidity is a concern. They’re lightweight, easy to cut and hang, and sold by the plank or in kits that cover a certain square footage.
Tongue-and-groove wood boards
They fit together snugly like puzzle pieces, leaving a classic V-joint profile between planks.
Shiplap boards
Quaint and country-ish, these have overlapping joints or “laps” that fit together tightly while leaving a visible nickel gap between boards.
Reclaimed-wood boards
Full of character, the knots, dings, and a naturally weathered surface are all part of the charm.
Plywood
Can be cut down into planks on a table saw for a custom look at a budget-friendly price.
2. Measure & Calculate
To determine your wall’s square footage, measure the width and the height in inches, multiply the two measurements, and divide by 144. If your wall has windows or doors, calculate their square footage and subtract from the total. Add 10 percent to account for mistakes. Most planks or plank kits list the square footage they cover so you can determine how many you’ll need. If you’re installing horizontally, determine the number of rows by dividing the wall’s height by the plank width.
3. Acclimate
Remove wood planks from packaging and store in the room for 10 days prior to installation so they can adjust to the humidity. Peel-and-stick planks may require less time.
4. Pattern Ideas

Horizontal
The most traditional.

Vertical
Great for wainscoting or floor-to-ceiling.

Diagonal
Adds modern movement.

Herringbone
Inspired by the classic design, the end of one panel abuts the side of another for an interlocking pattern.
Chevron
Adds more orderly movement; angular planks meet at a point to create a V-shape pattern.

Varying widths
Alternate horizontal rows or vertical columns with planks in varying widths.
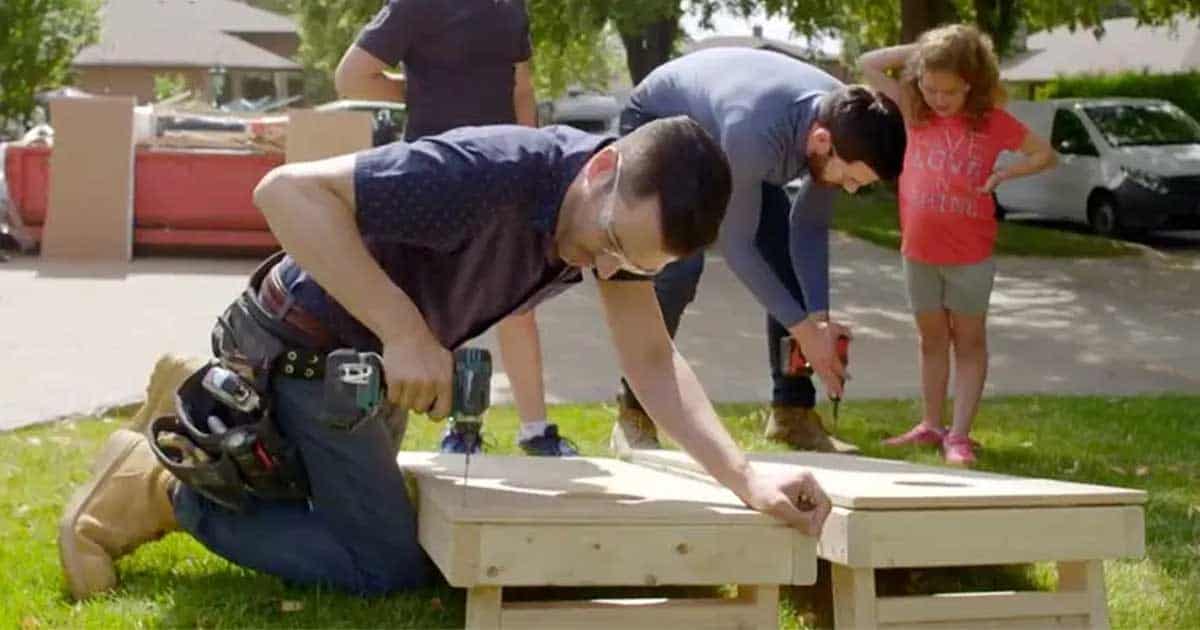
5. Install
The process will vary depending on the type of planks you choose, but here are a few basics.
• Recruit a buddy! This project is much easier with two people.
• Save time and achieve a nearly flawless finish by painting planks first, especially if you’re using a style with overlapping edges or cutting your own plywood. Use a brush on the laps or edges and a foam roller on the flat surfaces.
• Before you start raising planks, mark all studs with a chalk line or a level and pencil.
• For a horizontal application, gravity is on your side if you start from the bottom, especially when you’re using spacers. However, we prefer to start from the top to ensure a full plank is visible at the more noticeable areas. Also, your ceiling may not be perfectly level, so don’t rely on it alone as a reference. Get out that level and set that first board properly!
• If you’re nailing into studs, a nail gun will get the job done. Use construction adhesive when you can’t secure into a stud or want an “extra-permanent” grip, but keep in mind it may damage your drywall if you ever remove the planks. When we’re working with shiplap or tongue-and-groove boards, we like to nail directly into the laps at a 45-degree angle when possible—fewer holes to fill later.
• If installing horizontally or vertically, stagger your boards as needed so ends don’t line up in the same spot. For the quickest, tightest fit, turn the board over, hold it in place, and mark the edge so you know exactly where to cut.
• If you’re installing horizontally, you may need to cut the last board (the one flush to the ceiling) with a circular saw to get a good fit.
• Fill nail holes with wood filler, let dry, and sand smooth. Touch up the paint as needed.
“Thankfully ‘planking’ was just a fad, but a well-done plank feature wall? Timeless.”
—Drew

You’ll Need…
- pry bar
- angled paint brush
- foam roller
- paint
- stud finder
- pencil
- chalk line
- tape measure
- combination square
- compound miter saw, circular saw, or hacksaw
- fine-tooth blade
- drill with bit
- jigsaw
- level
- construction adhesive
- pneumatic nail gun
- finishing nails
- caulk
- wood filler
Where to Buy Planks
By Drew & Jonathan | Feature photograph by William Waldron/Otto Archive | Living room photograph by Heidi Harris