Linda’s Craft Corner: Burn Brighter
Add an extra spark to your holiday table with color-blocked candlesticks! A little wood, glue, and paint make for a festive centerpiece.
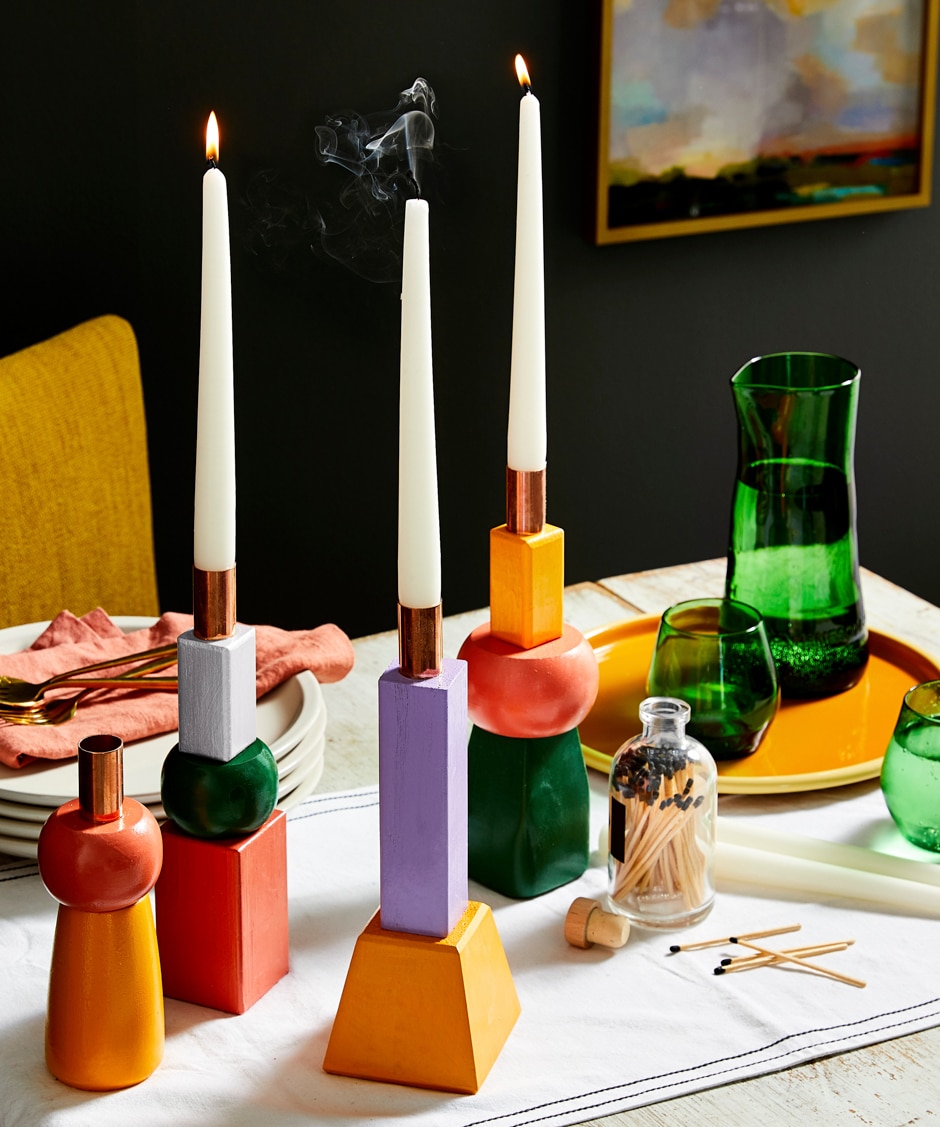
“The bright colors and geometric bases remind me of the bead mazes we used to play with as little kids. I always tried to push all of them at once!”
—Linda Phan
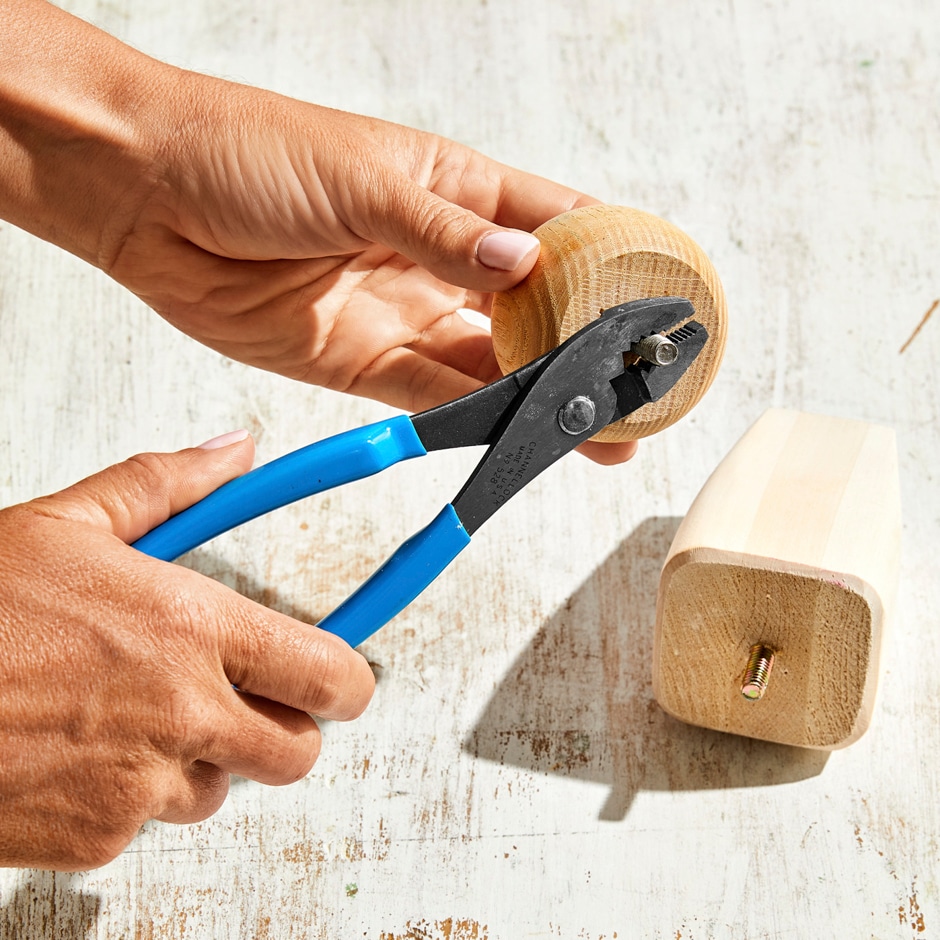
1. Use pliers to remove any screws or staples from the wooden pieces.
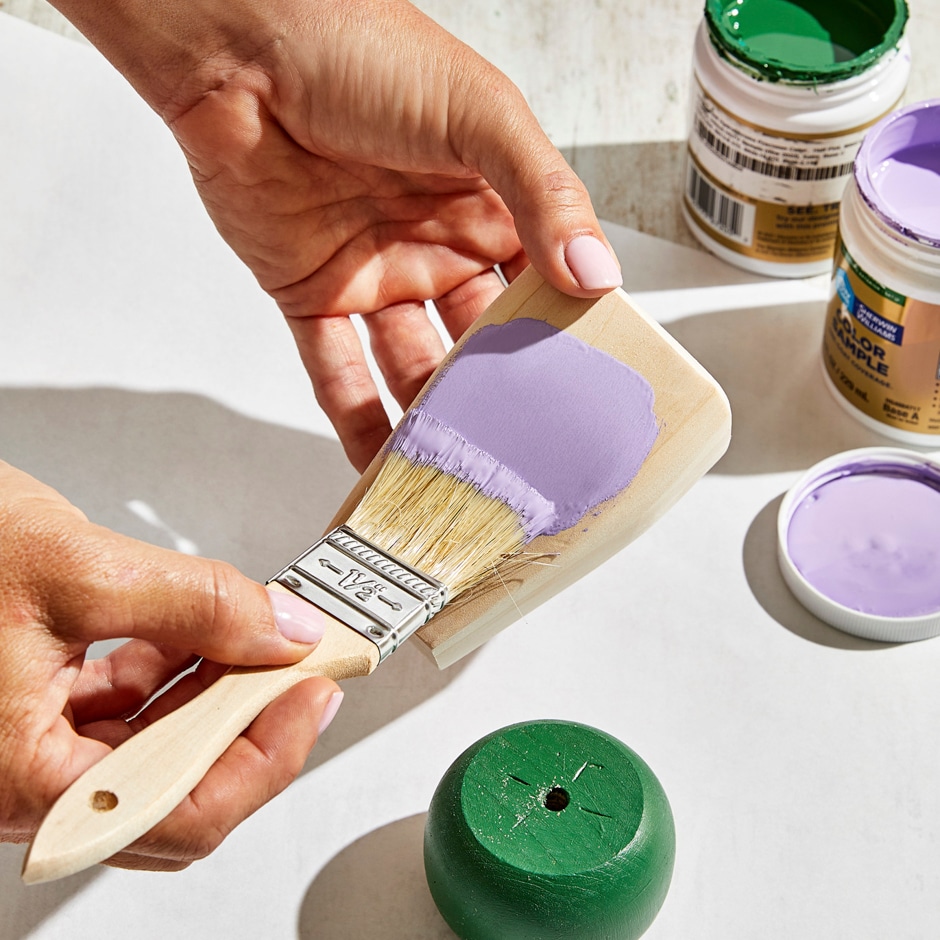
2. Paint the wooden shapes in desired colors. Apply a second coat if needed. Let dry.
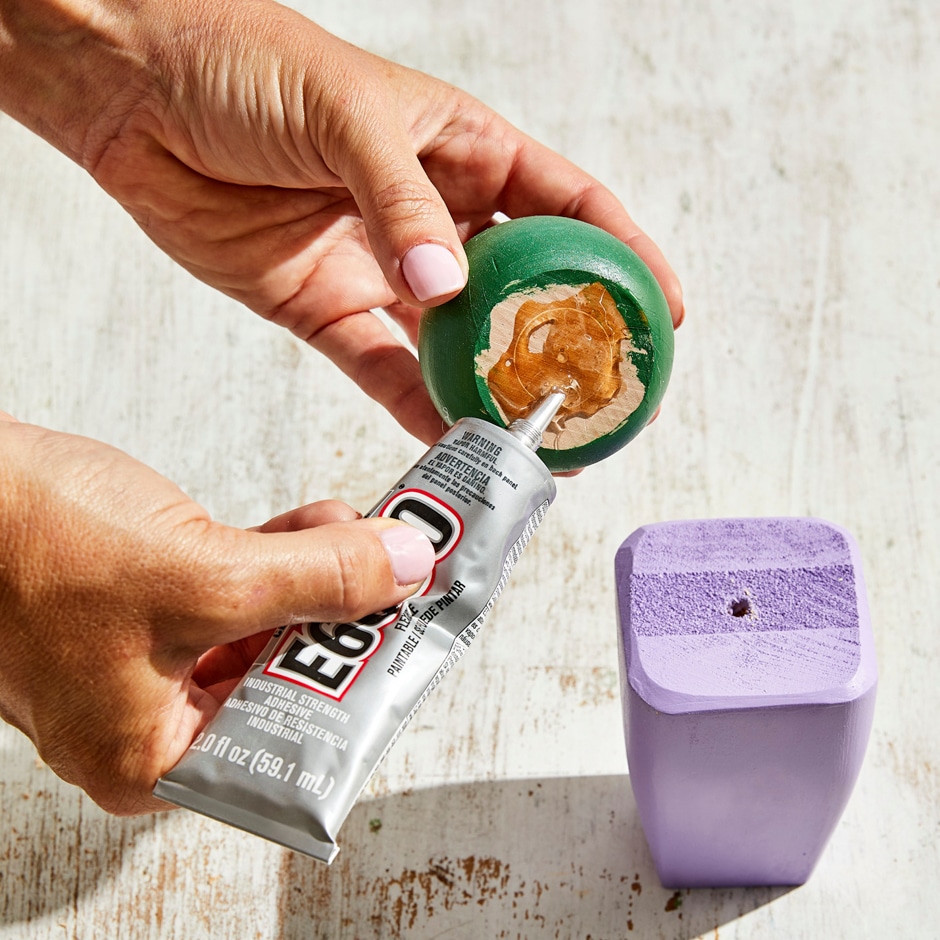
3. Glue the wooden pieces together to form your candlestick. Let dry.
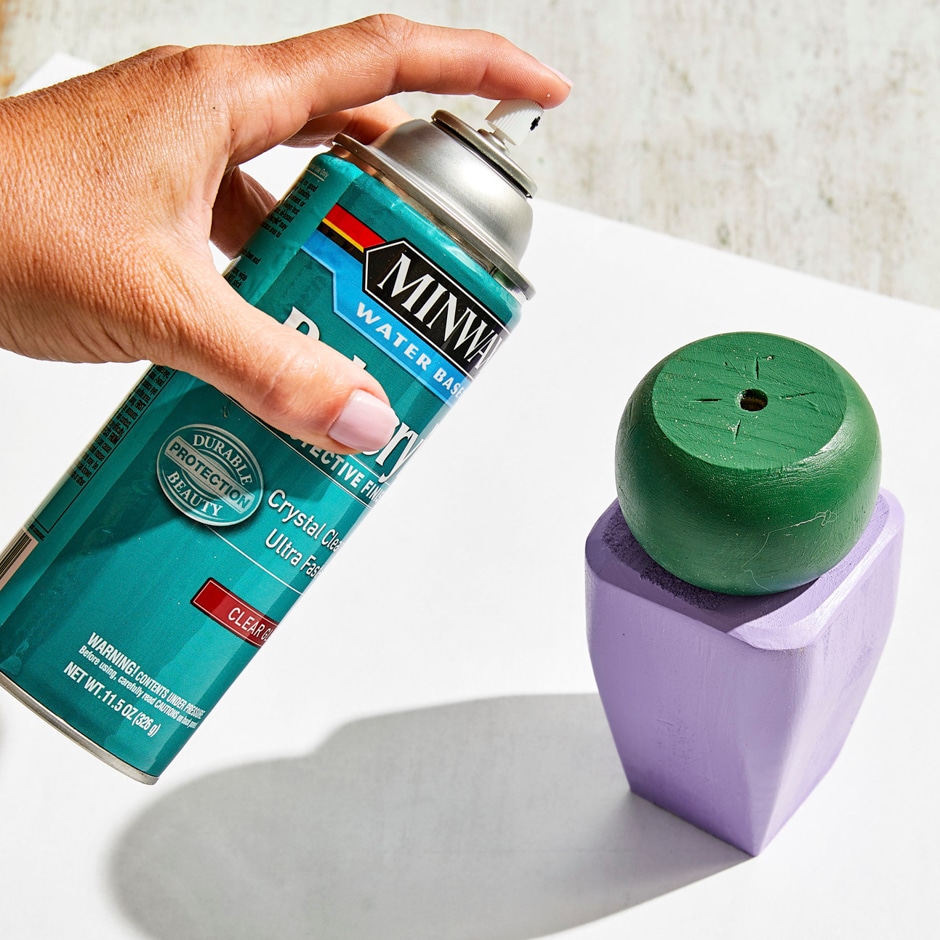
4. Varnish candlesticks. Let dry.
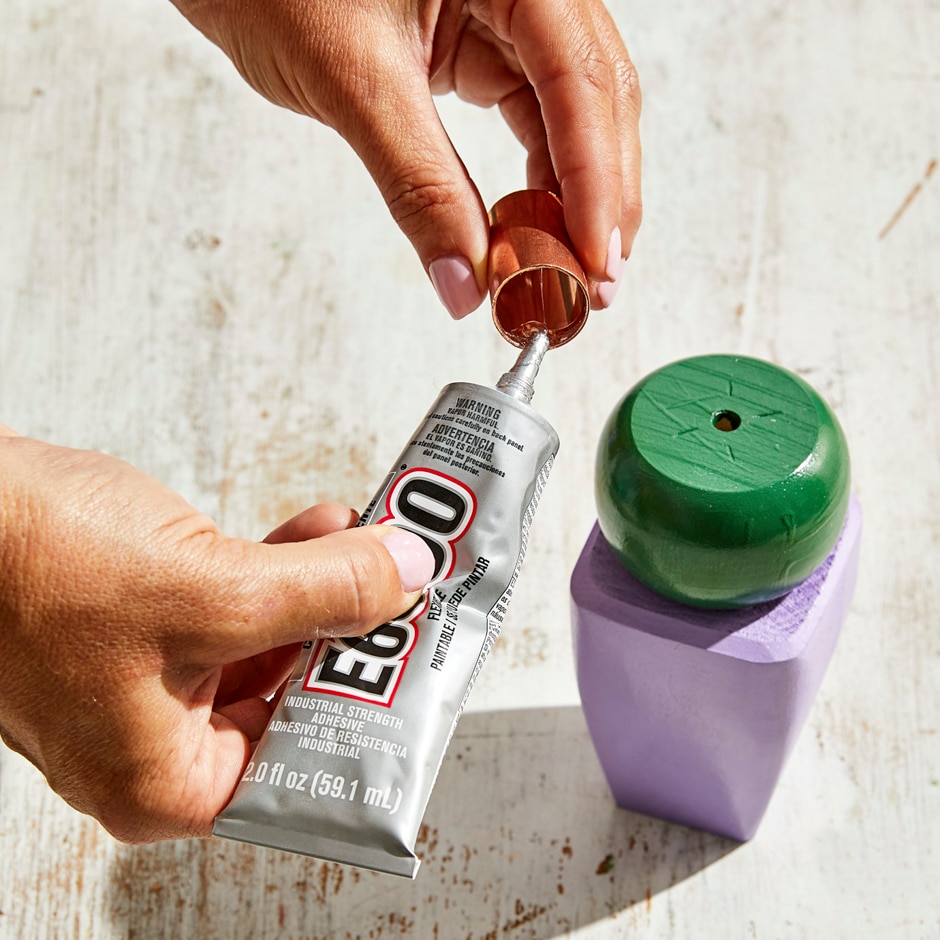
5. Glue a metal pipe fitting to the top of the candlestick. Let dry.
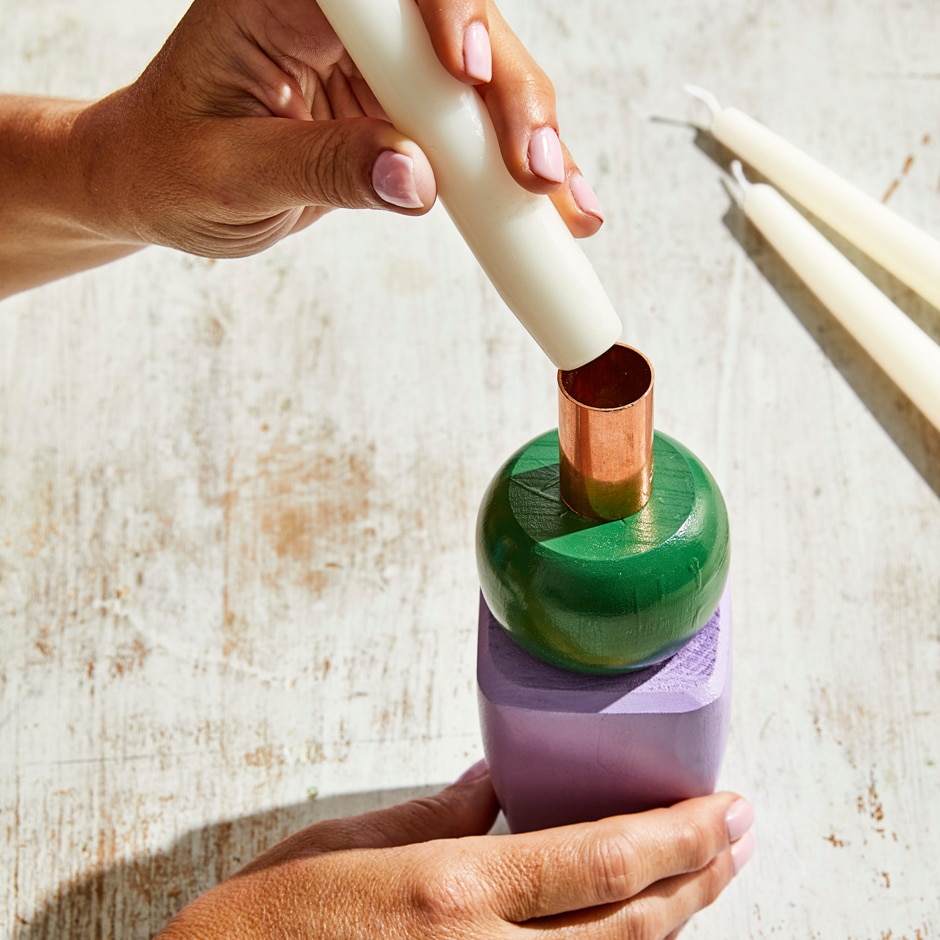
6. Insert candlesticks into the metal fitting. You’re ready to entertain!
Supplies
- wooden legs and/or feet (from hardware or craft stores)
- pliers
- acrylic craft paint
- paint brushes
- all-purpose strong glue (such as E6000)
- metal pipe fittings (3/4 to 1 inch in diameter)
- gloss varnish candlesticks
Craft by Amanda Kingloff | Photographs by Kelsey Hansen
This article originally appeared in the Holiday 2022 issue of Drew + Jonathan Reveal, Drew & Jonathan’s home and lifestyle magazine.