Hit Refresh With a DIY Mirror Frame Makeover
This site contains affiliate links to products. We may receive commission for purchases made through these links. Price at time of publish date may change.
Looking for a new project to tackle? Or, maybe you’ve been staring at that blank wall in your hallway reflecting on what would look best there? This DIY mirror frame project is the perfect easy update. You can cross it off your list in an afternoon, and even beginners can make it their own.
But you’ve been warned! Once you’ve completed this easy DIY mirror makeover, you might be inspired to refresh the rest of your space. You could apply peel-and-stick wallpaper, make a quick and easy decorating swap with furniture, or add a nice modern lamp that makes the whole room feel new. Either way, this mirror will be the centerpiece and you’ll be proud you took it on. Don’t forget to show off your finished project on Instagram and tag us @DrewandJonathan so we can see your shiny new mirror!
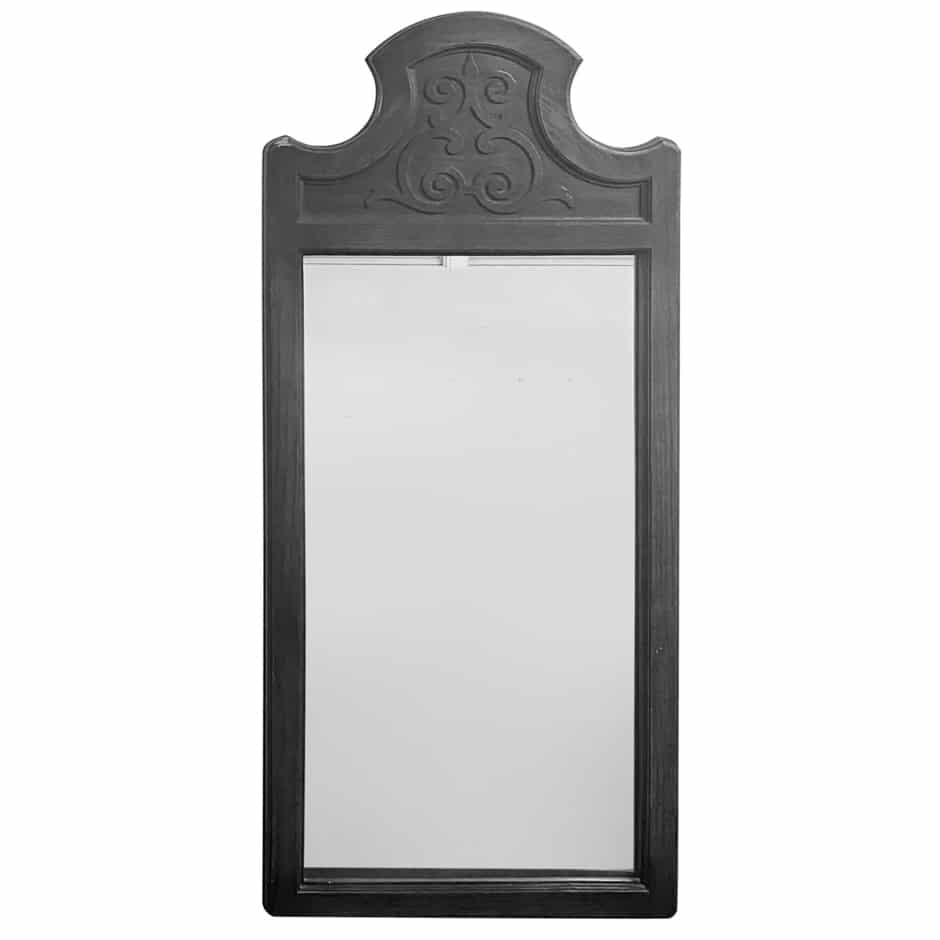
1. Find Your Mirror
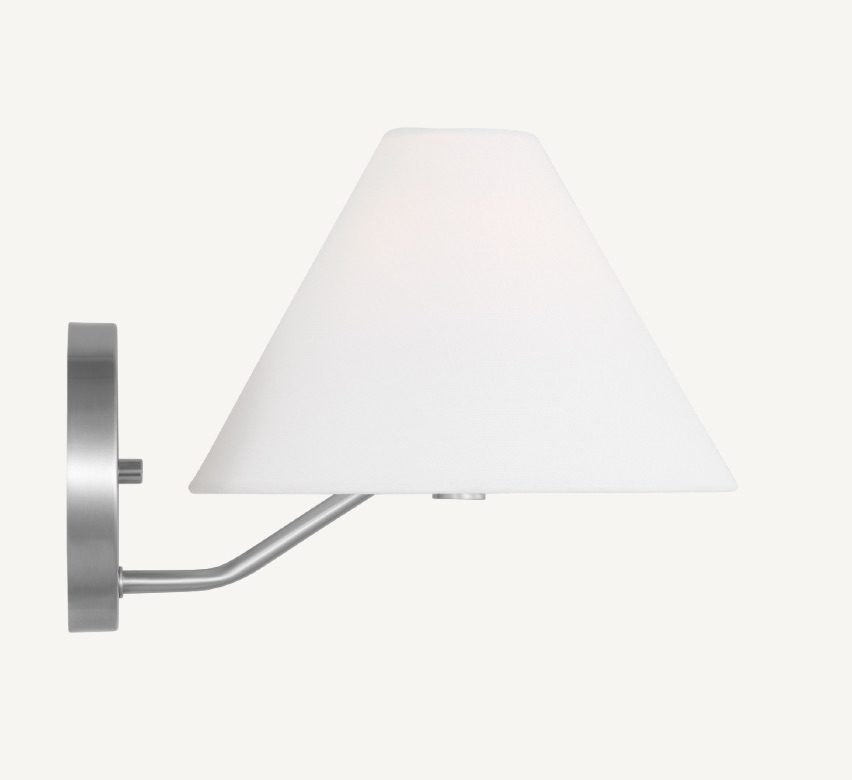
If you want to add lighting to your mirror, look for one with enough space at the top of the frame for a sconce. Check local thrift stores, the Habitat for Humanity’s ReStores, and online sources like Facebook Marketplace or Etsy for affordable secondhand mirrors to update. Frames with interesting details and unique silhouettes will help add character to your space.
2. Prep & Paint
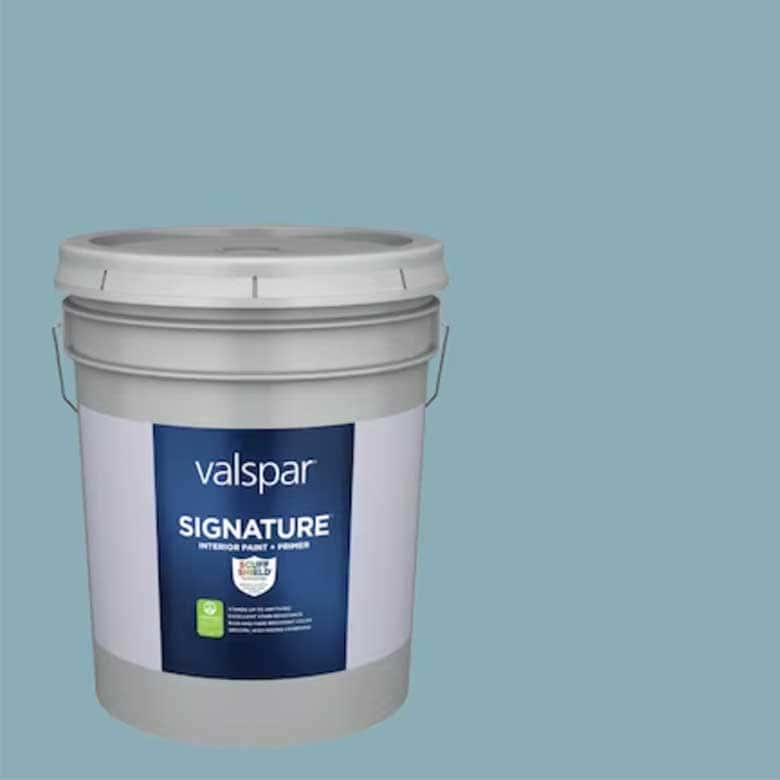
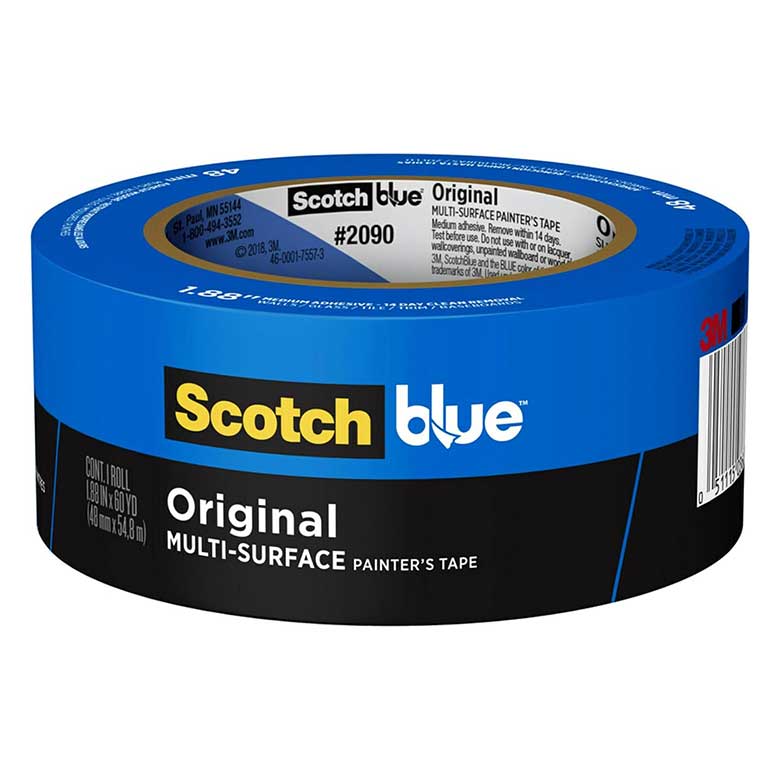
Lightly sand the frame and fill in any imperfections with wood putty. Make sure to tape the edges of the glass with painter’s tape before you start painting to avoid any mistakes. We’re all about adding color to your home whenever you can, so we chose this soothing shade (Lucy Blue by Valspar) to dress up the frame of our mirror. Pro tip: Small DIY projects like these usually don’t require much paint, so they’re a great way to utilize samples or leftovers from other projects.
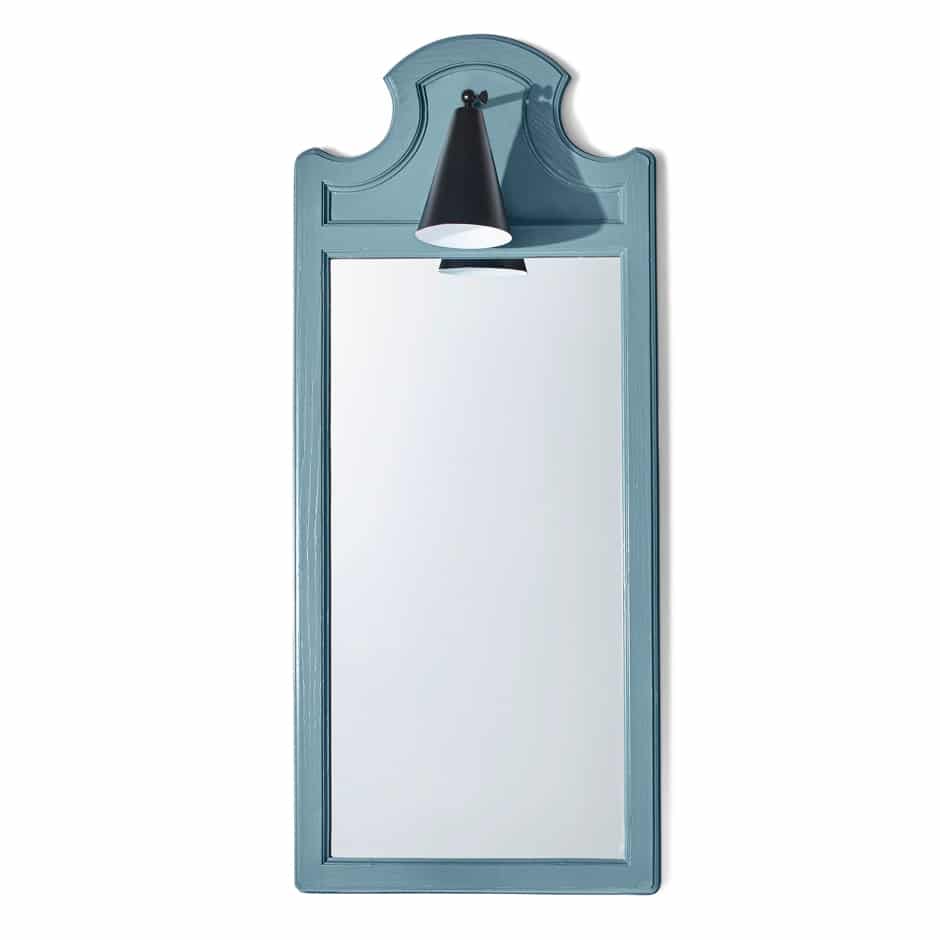
3. Let There Be Light
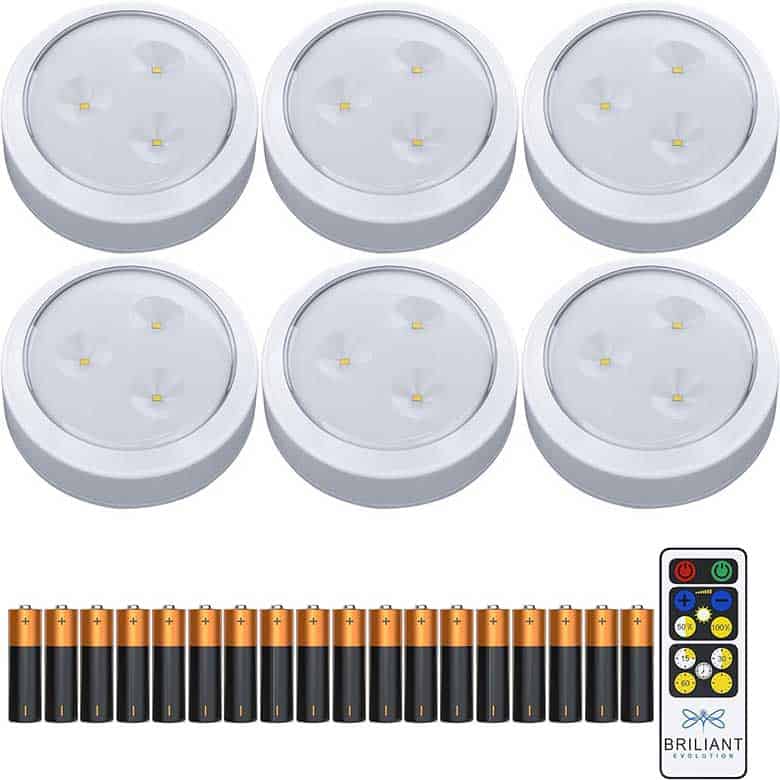
Now it’s time to attach your lighting. Instead of complicating your mirror makeover with wires or plugs, try this trick: Find a sconce that would normally require hard-wiring (not the plug-in kind). Then, purchase a remote-control puck light. These are usually inexpensive and can be found at a hardware store or easily ordered on Amazon, to use in place of a regular bulb. You’ll need one that fits inside your fixture, and you’ll also want to make sure that the sconce you choose will hide the puck light, the way ours does here. Last, using adhesive strips, attach the puck light where the bulb would normally be, then center your sconce and attach it to the frame using a drill and screws.
4. Pick a Spot
Now you’re finished and it’s time to find a home for your mirror! Depending on the size, you can either mount it, add it to an entryway table or dresser, or lean it against a wall.
Tip: Customize to Your Heart’s Desire
Whether you’re new to DIY projects or a master, you can customize this project to best fit your skill level. Keep it streamlined by choosing a mirror with a frame you don’t want to paint, or add more personality by choosing a detailed frame you can add multiple colors to. No matter how you frame it, this DIY mirror project is a quick and easy way to add more personality to your home.
Get Your Supplies
By Hannah Baker | Feature photograph by Carson Downing | Before photo and DIY design by Jeni Wright