Design 101: Time for a Trim
Want a quick (and inexpensive!) upgrade that will take almost any wall from bland to grand? Try some of these embellishment options on for size.
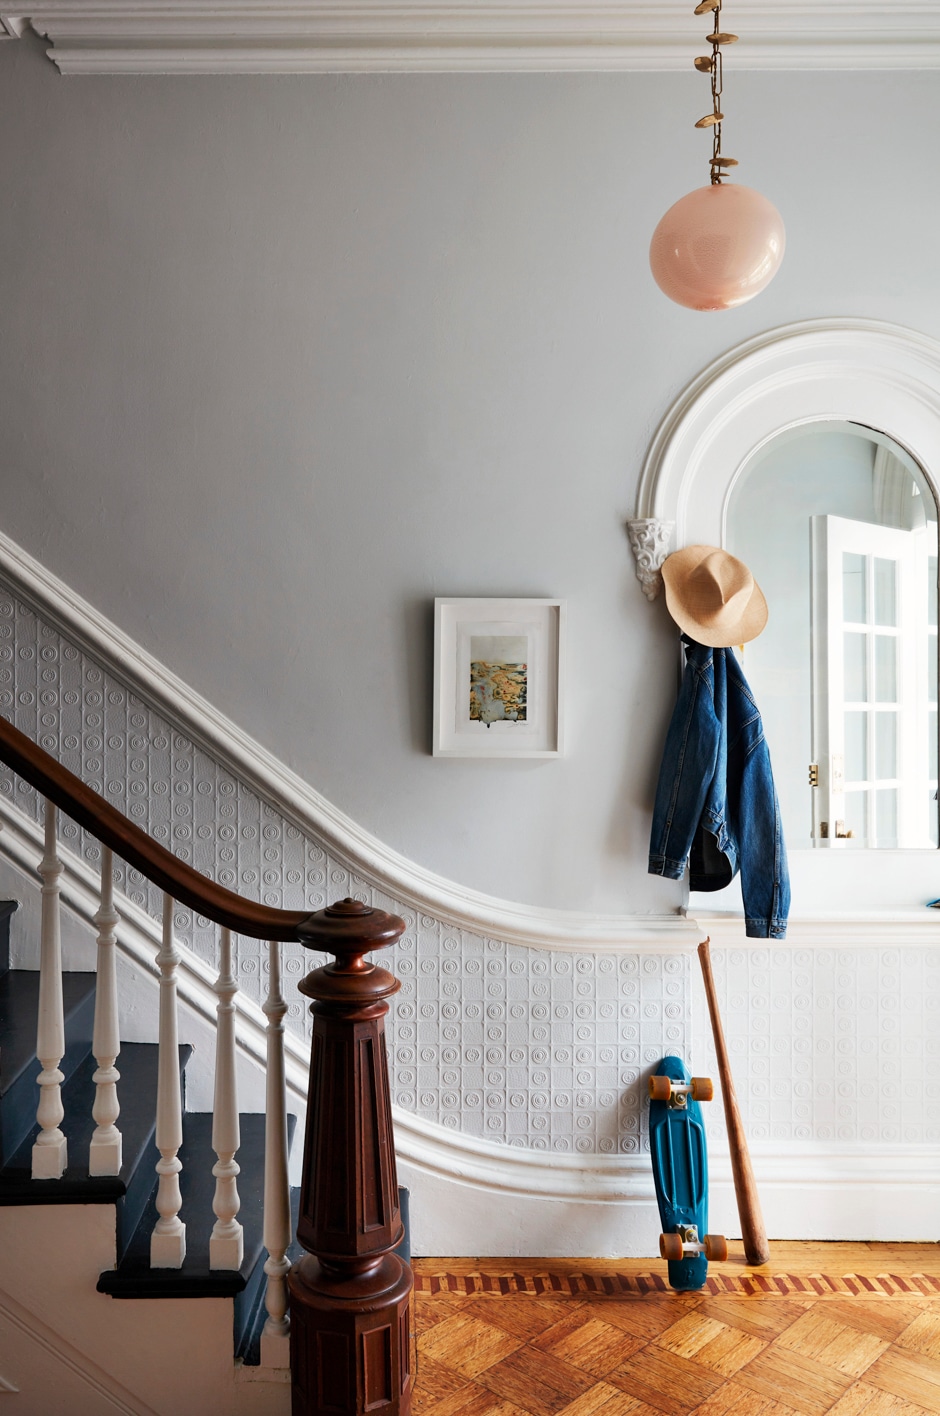
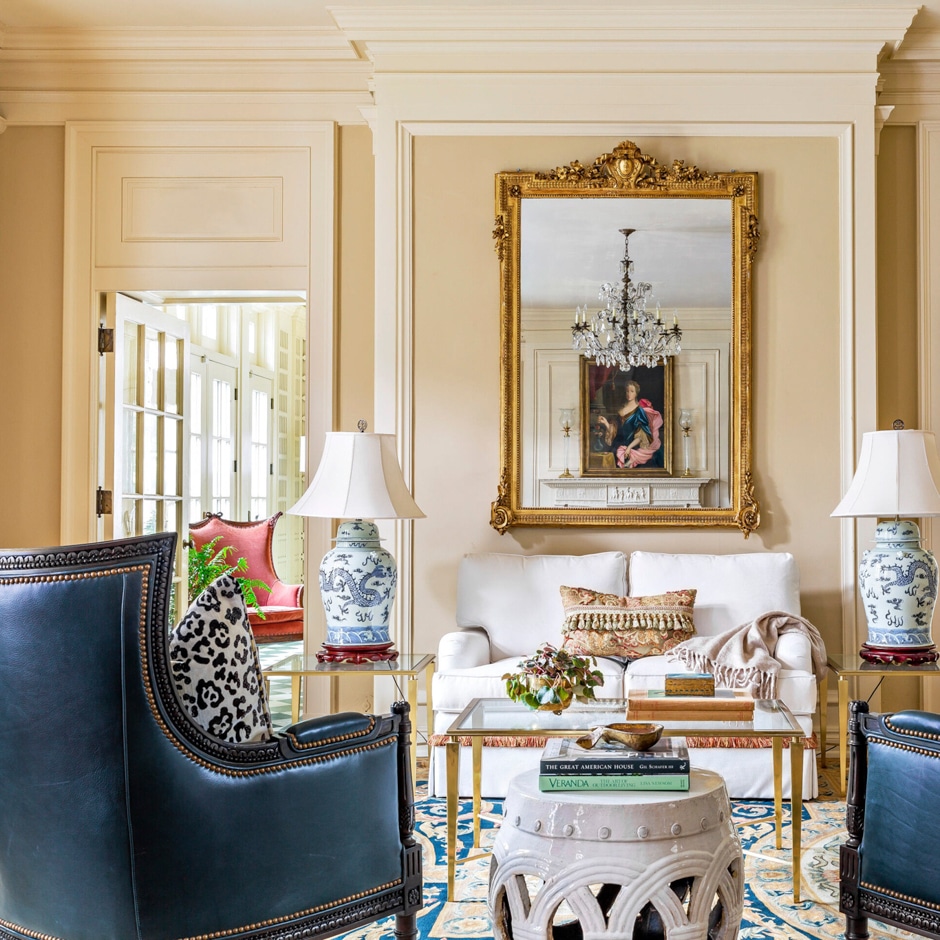
Crown Molding
Conceived as a way to hide gaps where walls and the ceiling come together, this trim has remained practical while becoming more elaborate through the years.
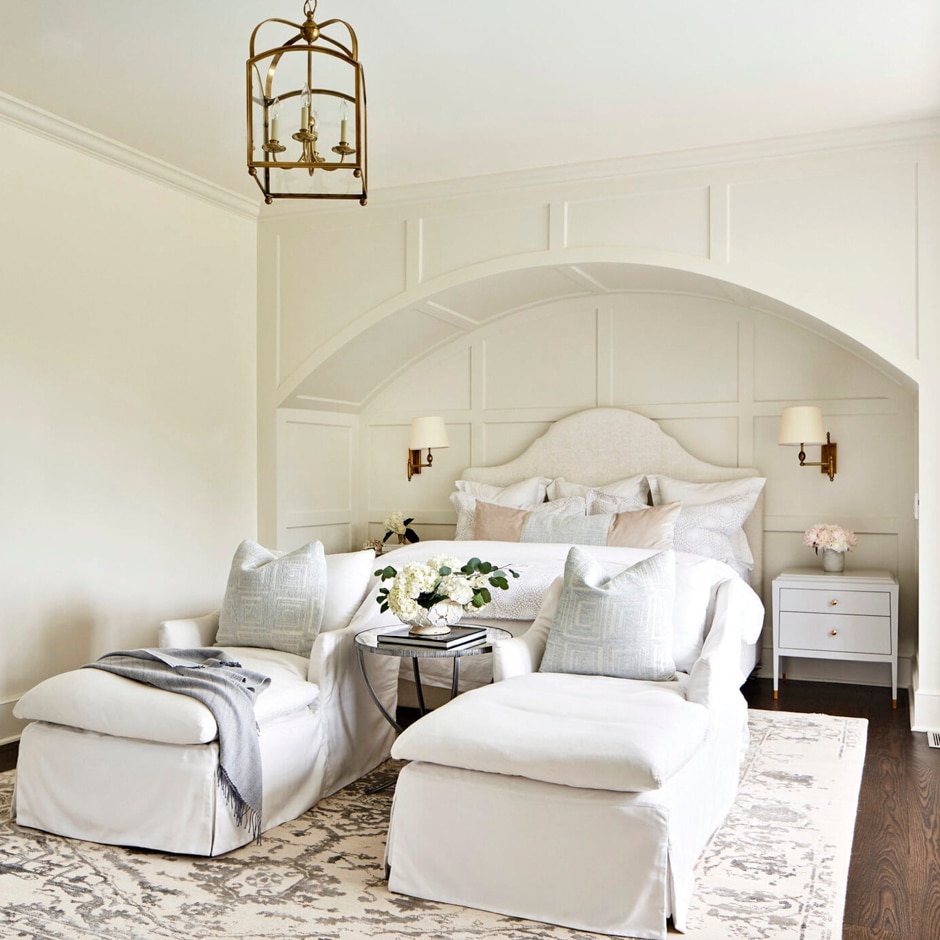
Picture Frame Molding
The name says it all: It’s four pieces of molding pieced together and installed to look like a square—or, yes, a picture frame.
Picture Rail
Both decorative and practical, this horizontal trim is generally installed 12 to 20 inches from the ceiling and can be used to display art.
Wainscoting
This term is a catch-all for all kinds of trim—board and batten, picture frame, beadboard—that’s applied only to the lower portion of a wall. Although it’s decorative, in older homes it was used for functional matters such as increasing insulation and protecting walls from furniture damage.
Baseboard
This down-low trim is very effective at hiding the joints between a wall and the floor.
Casing
A pretty and practical framing device that minds—and hides—the gaps between drywall and doors and windows.
Ceiling Medallion
This decorative, often round design element is installed in the ceiling canopy, where it can add extra emphasis around a grand chandelier or other dramatic lighting fixture.
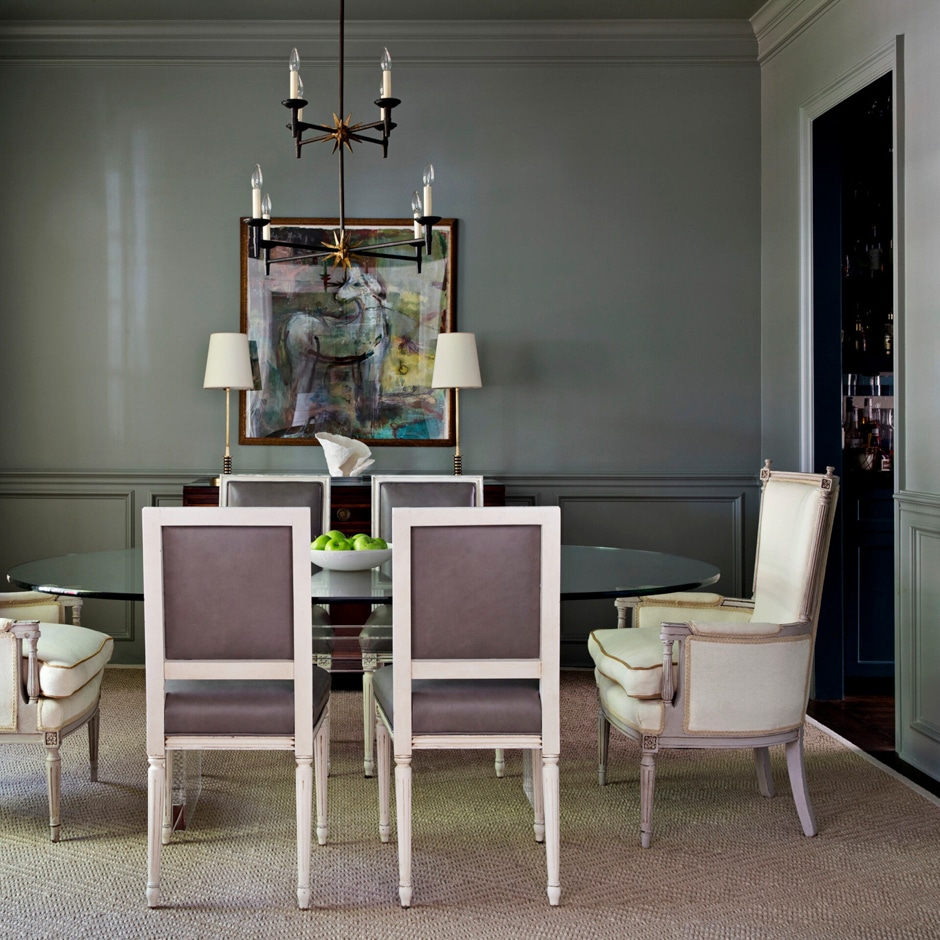
Chair Rail
Often hung in dining rooms to protect walls from chairs that are pushed back a little too eagerly, the horizontally applied trim comes in myriad styles, widths, and finishes. As a general rule, it is usually installed about a third of the way up the wall from the floor.
Board and Batten
This unique wall installation is a form of wainscoting, where mismatched widths of plywood boards are installed vertically, and strips of squared wood (battens) are applied to cover the spaces between the boards.

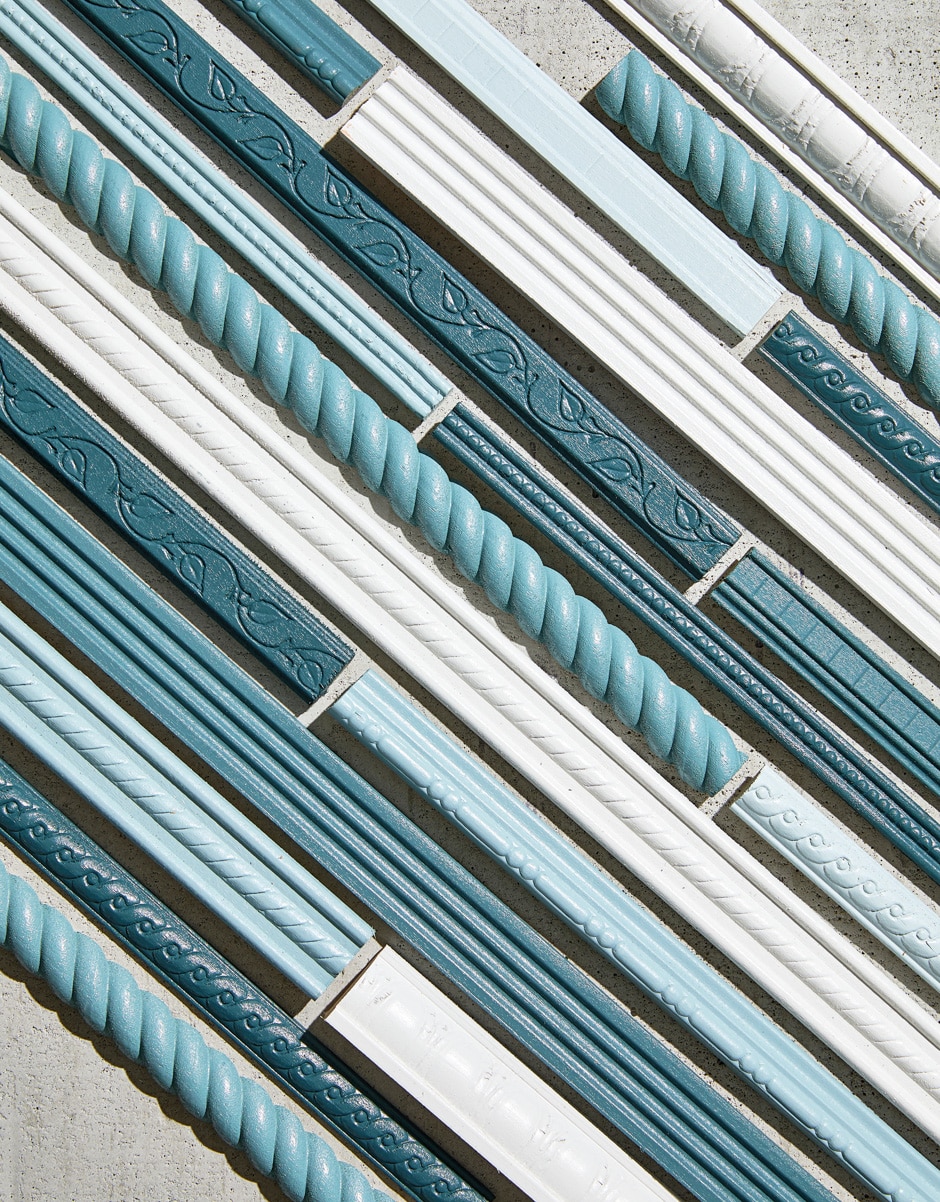
On the Border
Trim isn’t exactly a modern innovation: The ancient Egyptians were decking out temples with cavetto-style crown molding more than 4,000 years ago. Even so, these decorative edges are anything but stale. While styles and materials have evolved over the years, installing trim remains the easiest way to hide architectural imperfections, add a little gravitas to new construction, and beautify the boring. Here, we go to great lengths to define the assorted types of trim treatments.
Matters of Substance
Though some trims do, in fact, grow on trees, others are crafted from materials much different from wood. Check out some of the most popular options, along with a few pros and cons that come with each.
Medium-density Fiberboard
Commonly known as MDF, it’s created by compressing sawdust, resin, and wax together under high heat to form super-strong panels that can be cut into different styles of trim.
Pros
It’s easier to work with than wood—no risk of splinters, for one—and there’s little chance of bowing or cracking. It’s also easy to paint and less expensive than plywood.
Cons
It absorbs water, so it may not be the best bet for high-moisture spots like kitchens and bathrooms.
Plaster
Often made of all-natural materials like gypsum, sand, oxides, and clay, this is the fanciest material when it comes to trims. It can be molded into totally custom, extremely elaborate patterns that shine especially brightly when paired with plaster walls and high ceilings.
Pros
It’s environmentally friendly and nontoxic, and it won’t shift over time.
Cons
Because it’s made to order and created and installed by professionals, it’s not cheap. It can also crack.
Polystyrene Foam
Ever heard of Styrofoam? This is a form of that. It’s a lightweight solid thermoplastic that’s used for insulation, construction, crafts, coolers, and, yes, trims—especially DIY ones.
Pros
It’s less expensive and much easier to cut than wood; it can be painted or purchased pre-painted; and it won’t expand or contract.
Cons
It’s sold in shorter lengths and may be difficult to color-match.
PVC
Because it’s hardy, flexible, easy to install, and waterproof, this plastic is often used on a home’s exterior, but it’s becoming a more popular alternative for baseboards in kitchens, baths, and basements.
Pros
Not only is the material waterproof, but it’s also fireproof and termite-proof.
Cons
While it may be pretty close to indestructible, it’s not impervious to dents or marks, and it’s not all that eco-friendly.
Wood
Those looking for stained accents can’t go wrong with handsome hardwoods like poplar, cherry, walnut, oak, and maple. If you’re interested in a sturdy material fit for painting, check out less expensive softwoods like pine or fir.
Pros
Wood can be carved into any number of designs; hardwoods aren’t likely to warp or crack, and pine is easy to cut and stain or paint.
Cons
Depending on the species, it will be more expensive than engineered options such as MDF.
Installation Intel
Although the act of securing trim in place with nails or an adhesive isn’t all that taxing, getting that far into the process requires a little work. Before you begin, consider a few trimming truisms. And remember, there’s no shame in hiring a professional to take on this task.
The space should dictate the trim.
If you live in a modern manse, Federalist-style trim may be a bit much. A small room is going to feel even smaller with over-the-top crown molding, wainscoting, and a huge ceiling medallion. Rooms with higher ceilings can accommodate more crown molding and cornices, but if there are too many other embellishments, the detailing will get lost.
Proficiency with a compound miter saw is a must.
Casings and moldings that look perfectly polished require precision. That means you’ll have to know how to make 90- and 135-degree cuts. This particular saw will make that easier.
Always buy extra trim.
Even if you’re a wiz with a tape measure, bad things happen. Plan to purchase 20 percent more than you think you need to make up for overlapping joints, mistaken cuts, and other little accidents.
Pretreat the trim before installation.
Speed up at least one part of the process by priming or staining the trim before it goes up. It’ll dry faster, and then you can apply paint or touch-ups as necessary once it’s finally fastened to the wall.
Finishing Touches
Four designers weigh in on how a few lengths of trim can take almost any room to new heights.

1. Into the Woods
Shoshanna Shapiro of Sho and Co. says adding millwork to a craftsman works for a variety of reasons: “It’s a nod to the architecture itself, but it’s also a great way to enhance dimension and depth of color. To create the shadowboxed detail, we used applied molding and painted it in Chimichurri CSP-810 from Benjamin Moore’s Aura Waterborne paint collection in a satin finish for a touch of shine.”
2. Fair & Square
When designer Mel Bean renovated a Tulsa, Oklahoma, client’s primary suite, she expanded the existing arch and added raised trim for a handsome paneled design that also came with a practical advantage: “The paneling just above the side of the nightstands swings open, revealing a hidden space for charging phones, stashing books, and generally keeping the clutter to a minimum.”
3. Historical Marker
Though trim adds plenty of positives to a room, it can also take away some negatives, according to Louisiana designer Lance Thomas of Thomas Guy Interiors: “This house was built in 1925, and the triple crown and trim were part of the original architecture. My guess is that the architect needed the high ceilings to collect the hot air well above the guests but also wanted to create a sense of intimacy. So he brought the visual sight lines down with a multitude of molding and trim.”
4. Vintage Upgrade
Houston designer Mary Patton recently upped the formality in a formal dining room with the addition of a chair rail: “It just automatically makes a space feel older. This home was originally built in the early 2000s, and we did a full gut renovation, layering in a mix of elements that are found in older architecture along with some very modern updates.”
By Laura Kostelny | Feature photograph by Kelsey Hansen | First architectural photograph by Francis Dzikowski | Stairway photograph by Stephen Kent Johnson | Finishing touches photographs by Stylish Productions, Laurey Glenn, Molly Culver, and Jen Burner
This article originally appeared in the Holiday 2022 issue of Drew + Jonathan Reveal, Drew & Jonathan’s home and lifestyle magazine.